How to Make a Custom Soap Molds using a Potato and Vacuum Forming

Over atFall for DIY, master maker Fran Stone creates affordable projects you can try at home. She has a fantastic eye for a great shot and her projects are beautiful as well as useful.
We were excited to see what she came up with when she got her hands on her very own desktop vacuum forming machine, the Mayku FormBox. One of her creations was this awesome DIY soap recipe - great for gifts or jazzing up your bathroom and we couldn't wait to share with our wider audience.
You could try tons of variations on Fran's ideas: cutting different shapes, mixing different colors and scents, or using different types of soap base. If you’ve got a 3D printer, you can skip the potato and print a shape to form with and truly unlock so many different options for your master shape. Who knows, perhaps this is the start of your handmade beauty business empire?
What You’ll Need
- Large potato
- Sharp knife
- Mayku FormBox
- Mayku Sheet of your choice
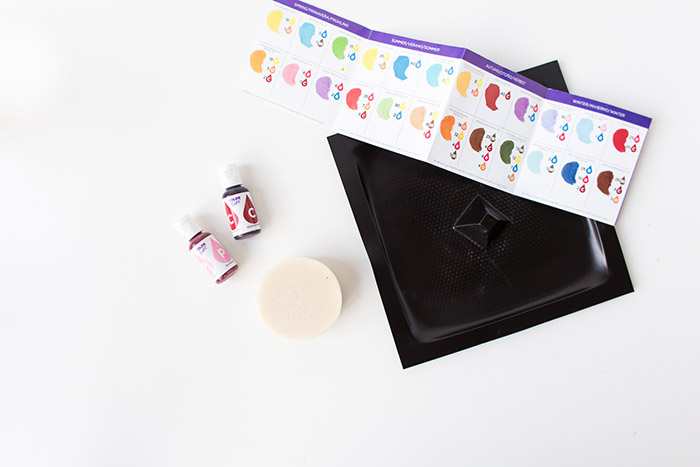
- Melt & Pour soap base
- Essential oils
- Food colouring
- Edible gold leaf
How to Make a Soap Mold with a Potato and Vacuum Forming Machine

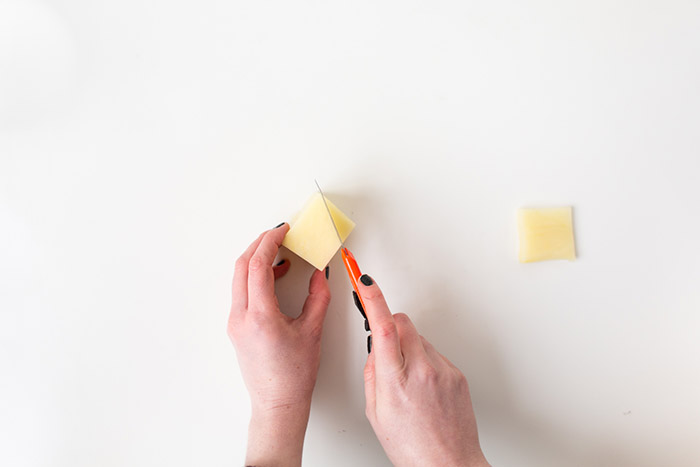
1. Cut the potato into a cube. Make this first shape as large as possible - it will come in handy if you make mistakes later on! Try to make each side as equal as you can.

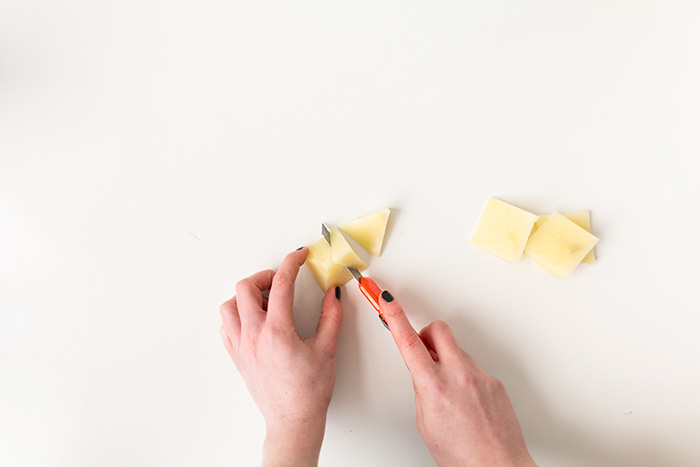
2. To cut the potato into a pyramid, find the center of one edge and slice down at an angle.

3. Mirror this cut on the opposite side of the potato. Your potato should look like a triangular prism.

4. Repeat step 3 for the other two flat edges to make your potato into a pyramid.
.jpg)
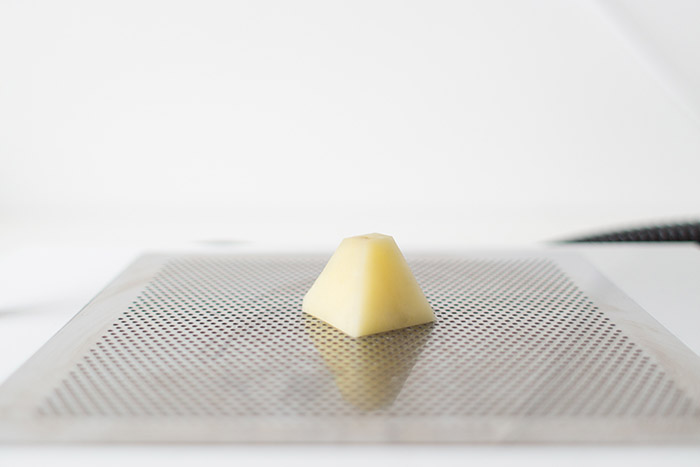
5. Slice a few millimeters off the peak of the pyramid to give it a flat top. You’re ready to form!

6. Place the potato on the bed of the FormBox and form it using a Mayku Sheet. Check your FormBox manual if you need a reminder on how to form.
.jpg)
7. When the mold is cooled, pop it over a cup for stability. Cover the inside with Vaseline or baby oil - greasing the mold will help your soap pop out smoothly.

8. Heat your soap base until it’s a smooth liquid. You can do this via 20-second bursts in the microwave or with a bain marie.
.jpg)
9. Into the soap base, add your desired essential oils and food coloring. Mix together and leave to cool for a few moments, until a skin has formed on the surface of the mixture - this is to ensure you don’t melt the mold!
.jpg)
10. Pour your colored, fragranced soap base into your mold. Gently tap the sides of the mold to float any air bubbles. Leave to cool for a minimum of 3 - 4 hours. The fridge is a great place for your soap to rest.
.jpg)
11. When your soap is set, carefully push it out from the mold. Cut a few squares of gold leaf and gently press them into place on top of the pyramid. And you're done!
How would you make this recipe your own?We love seeing projects made by our customers and fans, so be sure to tag @TeamMayku in your social posts or join our Facebook Group, the Mayku Community to get involved.
Continue reading
View all
How to Design for Vacuum Forming and Mold Making with Agustín Arroyo
FormBox • 5 minutes read • 2nd Feb 2022

How To Make A Custom Chocolate Bar Mold With Vacuum Forming
FormBox • 8 minutes read • 7th Jun 2021

Vacuum Forming: How To Make A Chocolate Two-Part Mold
FormBox • 11 minutes read • 26th May 2021
Book a call
Let's chat about possible applications or any other ideas or questions you might have. Book a call with a member of our team below.
Find a timeSubmit a question
Want to know more? Send us a question and we’ll get back to you as soon as we can.
Ask nowFind a reseller
Our certified resellers have invaluable application and workflow knowledge. Connect with a reseller near you.
Connect


