


How to Make EVA Foam Props using Thermoforming with Adele Morse

Looking for some fresh making inspiration? You’ve come to the right place. If you’re interested in making flexible, soft shapes using the Mayku FormBox, you could try using EVA foam as a vacuum forming sheet. We asked taxidermist and artist, Adele Morse to put together some expert tips on how to use this versatile material in your crafts.
So by now I am sure you have tried all the different sheets that Mayku make. Did you know you can use other materials to get some interesting effects too? I am going to go over one of my favourites to use. It’s very cheap, accessible and has a lot of uses and advantages for certain applications.
What is EVA foam?
EVA foam is produced by a co-polymerization reaction between ethylene and vinyl acetate making it extremely versatile and useful across many industries. That’s all a bit technical but basically, it’s a soft foam sheet. Somewhere between a sofa foam and fabric texture. it’s plastic but it’s soft. It’s got a slightly porous surface and is very light. It’s quite easy to make marks in to add texture, takes paint really well including metallic paints - making it ideal iif you wanted to use it to make cosplay armour or weapons.
One of the most widely available and successful types is EVA craft foam. You can get it at a craft shop. It’s very cheap and It comes in A4 or A3 Sheets in loads of different colours. It’s lightweight and unlike the plastic it can very easily be glued or sewn together to form larger pieces. It’s soft, pliable nature makes it great for wearing or creating cosplay pieces from. If you made a mask from resin or plastic the edges can be scratchy without some finishing work whereas with foam this isn't an issue. It can be cut with almost any scissors very easily and can also be layered and glued.
How to Make Prop Hats and Masks with EVA Foam and Vacuum Forming
I am going to make a couple of things to try out some simple ideas.
A couple of years back I made a hat out of felt for a rabbit. To do this you have to make a solid hat form and then wet and soap the felt and pull it around the form. It worked very well but it was messy and time-consuming.

I made the hat form from polymer clay (check this article to get some tips on working with polymer clay) and to get it up to standard for the FormBox I added a rim made of cardboard to make sure the underside of the foam doesn’t pick up the pattern of the mesh on the base of the FormBox tray. I used thick cardboard from comic book inserts. this is a good thickness and holds its shape under the air suction of the FormBox. The size of the rim doesn’t matter too much as this can be trimmed later. I also cut a hole in the rim piece for the form to sit in. I cut the hole 2mm bigger so there is a little gap for air to be sucked through making pull in closer and create a cleaner angle where the rim meets the main part.
I set these aside ready for the next steps.
The other thing I wanted to try was an eye mask. I am going to try and make an eye mask form using a resin faceplate I made for a sculpture. You can make something similar with clay or you could use a life cast of your face to have it fit you perfectly. The idea here is to form a basic shape that I will cut into to make a basic mask shape. I can then sculpt and form over details or just cut shapes from foam and glue them on.

Side note: Another useful thing you can do with EVA and the FormBox is to use it to create a layer of padding around a figure or product you want to make a plastic shell for, for example, if you want to make your own blister pack packaging. This can be done with a 3D printed form but this more lo-fi method is a lot faster, easier and cheaper plus you can layer the foam depending on how much space you want between the packaging and object. I found forming one sheet over the object first then leaving that in place before forming a second sheet gives the thickness I want. But, that is a project for another day! Ok, let’s start making!
Preparing the EVA foam for thermoforming
I would recommend getting A3 sheets and using a Mayku sheet to as a template, leaving a cm or two around the edges, as the foam contracts a little and can slip out as it does so making the sheet unusable. Cut to size with a scalpel or scissors. Once you have your sheet place in the machine with the excess, load into the FormBox.
Heating the EVA foam with the FormBox
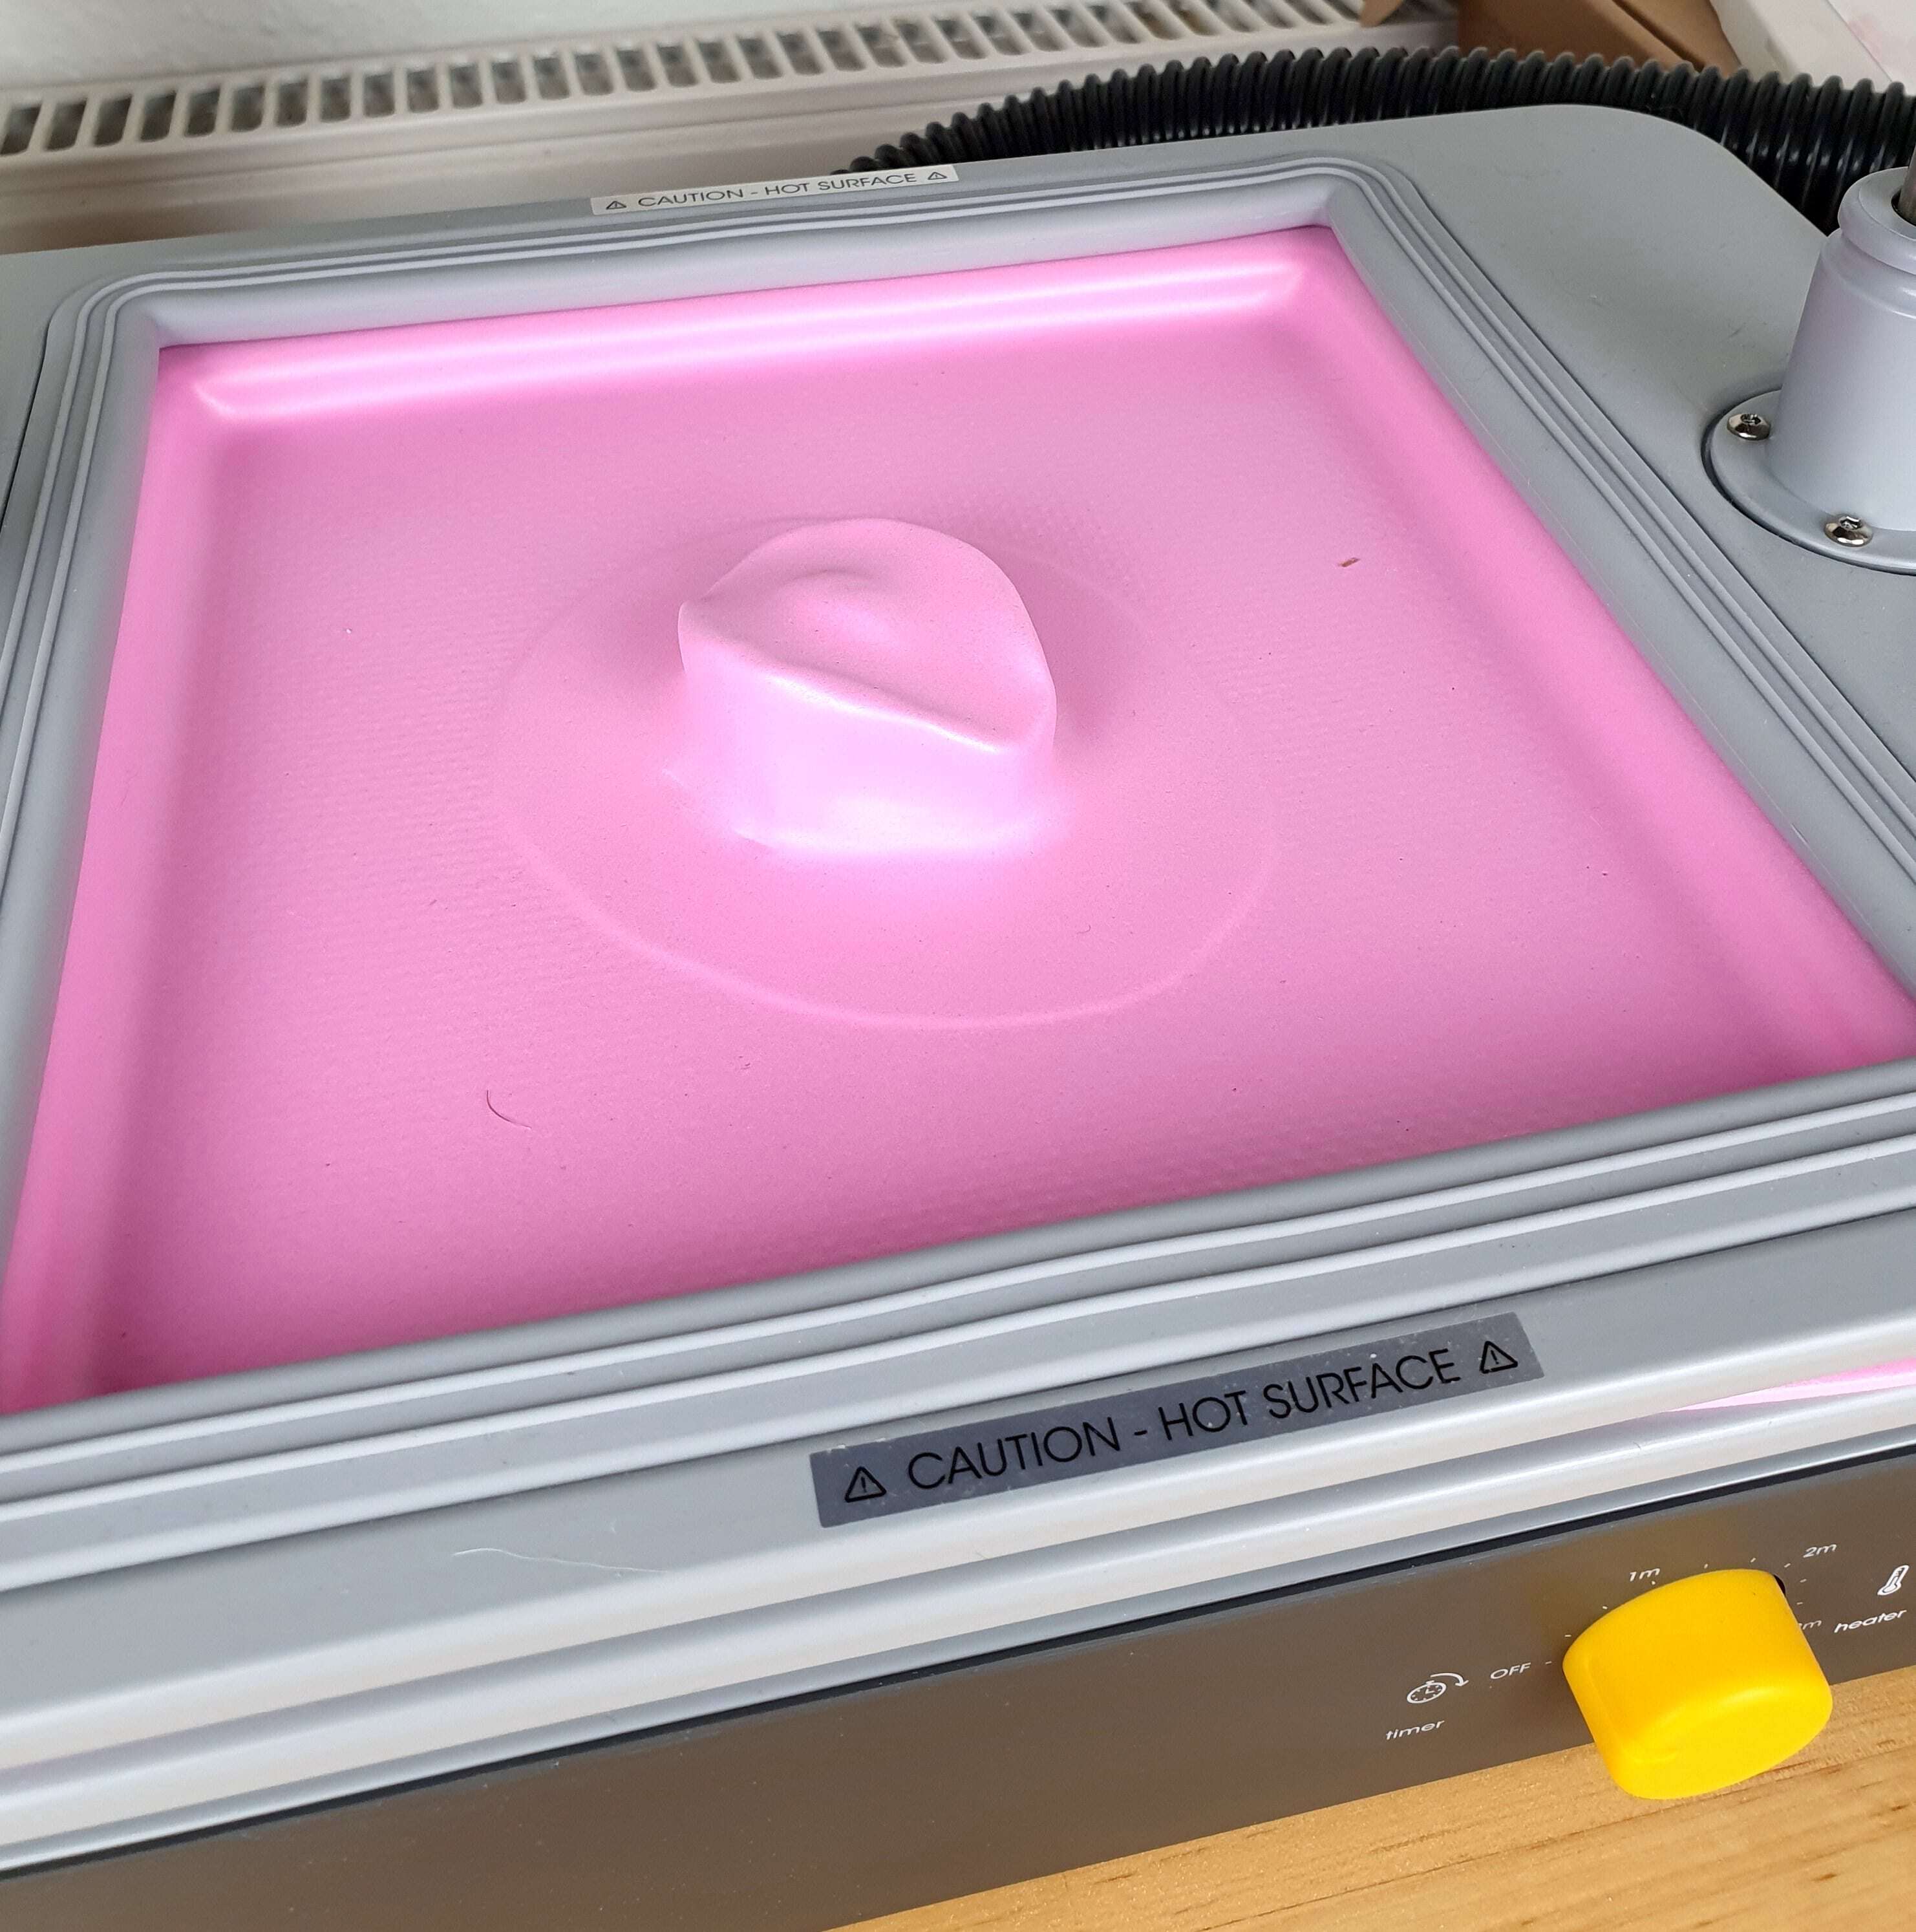
So as this is a non-standard material I would advise skipping the timer and instead watching the foam carefully. Set the heat to the highest setting. When it dips down it’s ready. Webbing is when the plastic sheet material sticks to itself due to overheating. Unlike the plastic sheets webbing isn’t really an issue with foam so it can stand to be a little overheated, just be aware that increase heat can thin the material, so keep a close eye as you work.
Place your hat form with the rim and/or face template in the machine whilst waiting for the foam to dip.
When it’s ready pull it down.
Leave to cool for a minute or two then you can pull your shapes out. A huge advantage of foam vs. the current Mayku sheets is that undercuts are not a problem. The face template has nostrils which would have locked the object into a plastic sheet however the foam can be peeled off leaving the foam inside out. You can then easily turn it back the right way. This area will be trimmed off anyway but its very useful to be able to have undercuts in the template and not to have to fill them in.

First I did the hat. I removed the form and trimmed the brim of the hat until it felt in proportion. As the foam I had was this baby pink I thought the only real option for adding a trim was Zebra print to make it even more classy.
You can use a hot glue gun, PVA or UHU glue. I always recommend just testing the glue on a scrap of foam as some glues can disintegrate the foam and you don’t want this to happen on a finished project.
Once the glue was dry I got my cat Pierre to model it. You can also roll the edges a little and warm the foam with a hair dryer to get it to hold the shape. You can use a heat gun but be careful as you can melt the foam.

Next is the eye mask. I peeled the foam off the resin cast. Despite no holes in the resin the foam picked up a lot of detail and really shaped around the resin template really well.
I use a fabric scissors to cut eye holes and cut around to make a very basic eye mask shape. Any sharp scissors will work but you can’t beat a £10 pair of fabric scissors when cutting foam. You could also use a scalpel or rolling cutter if you are more experienced with these.
This basic shape can be built on with more foam shapes, rhinestones, paint, ribbon, fabric, feathers, the creative options are endless. You could sew onto some clear frame glasses or make small holes and add ribbon or elastic to secure it on your face.
If you want a thicker mask instead of removing the face template from the foam after it’s cooled down just trim the foam from around the edges and place back in the FormBox to add another layer. You can repeat these steps as you like. The sheets won’t stick together but they will thin and the texture of the foam will keep usually them together for you to cut then you can glue the layers together if you want. If you are using ribbon to make a tie then you can sandwich the ribbon between layers and sew or glue them in place on each side to conceal the ends.
What will you make with the FormBox, desktop vacuum forming machine?
So, there we have it some very basic ways of using EVA foam with the Mayku FormBox that will hopefully spark some ideas for your own projects. You could make scales or other small pieces by making the basic shapes from card or polymer clay. You can use the other Mayku sheets to form a hard shell over the foam too. Meaning you could easily make a foam-backed mask and cover with a Mayku clear casting sheet. This would allow you to peel the two layers apart so you can spray paint/ paint the inside of the casting sheet before gluing in the foam backing. This would give a great very polished look.
If you want to see more of my work, you can go to my website or follow me on Twitter, Instagram or Facebook for all the updates.
Thanks for reading and happy making! Adele x
Want to know more about the Mayku FormBox? Request to speak to a specialist today and a local expert will contact you to discuss how the FormBox could transform your workflow. For more inspiration and ideas, follow @TeamMayku on Twitter, Facebook, Instagram and YouTube.
Continue reading
View all

How to Design for Vacuum Forming and Mold Making with Agustín Arroyo
FormBox • 5 minutes read • 2nd Feb 2022


How To Make A Custom Chocolate Bar Mold With Vacuum Forming
FormBox • 8 minutes read • 7th Jun 2021


Vacuum Forming: How To Make A Chocolate Two-Part Mold
FormBox • 11 minutes read • 26th May 2021
Book a call
Let's chat about possible applications or any other ideas or questions you might have. Book a call with a member of our team below.
Find a timeSubmit a question
Want to know more? Send us a question and we’ll get back to you as soon as we can.
Ask nowFind a reseller
Our certified resellers have invaluable application and workflow knowledge. Connect with a reseller near you.
Connect